Please follow the steps below to configure the SAML application in Okta:
Step 1: Create a SAML application in Okta
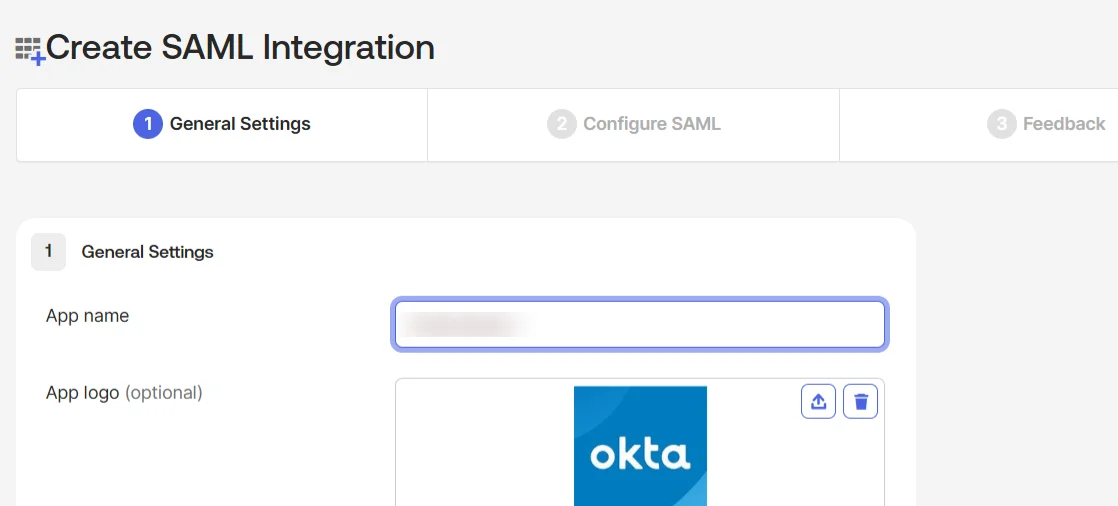
Log in to your Okta admin dashboard and create a new SAML application for your WordPress site.
Step 2: Enter the application details
While creating the application, add the application name and upload the logo if needed.
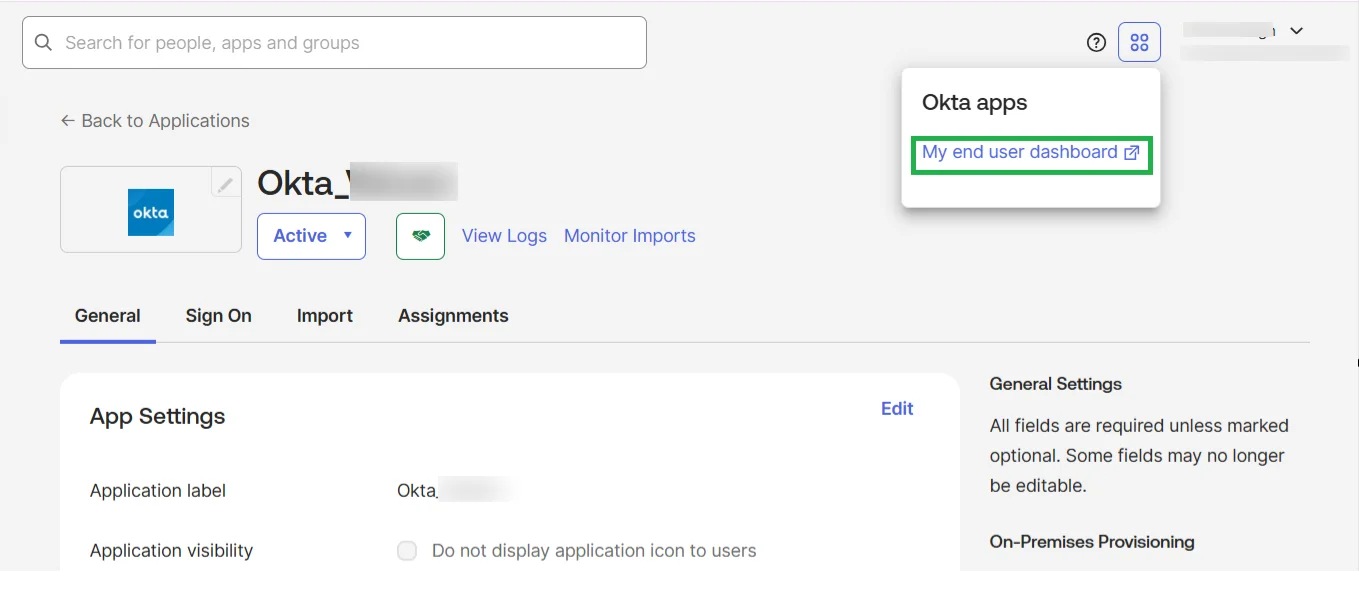
Step 3: Configure app visibility
During the application setup, you will see an option to control whether the Okta app tile should be displayed in the Okta end-user dashboard. Refer to the image below for guidance.
If you want to hide the Okta application tile from the end-user dashboard, enable the Do not display application icon to users option.
Step 4: Complete the SSO configuration
Finish configuring the SAML settings in Okta and complete the SSO setup between WordPress and Okta.
Step 5: Open the Okta end-user dashboard
Once the setup is completed, open the Okta end-user dashboard. If the app visibility option is enabled, you will see the Okta app tile there. Refer to the images below for reference.
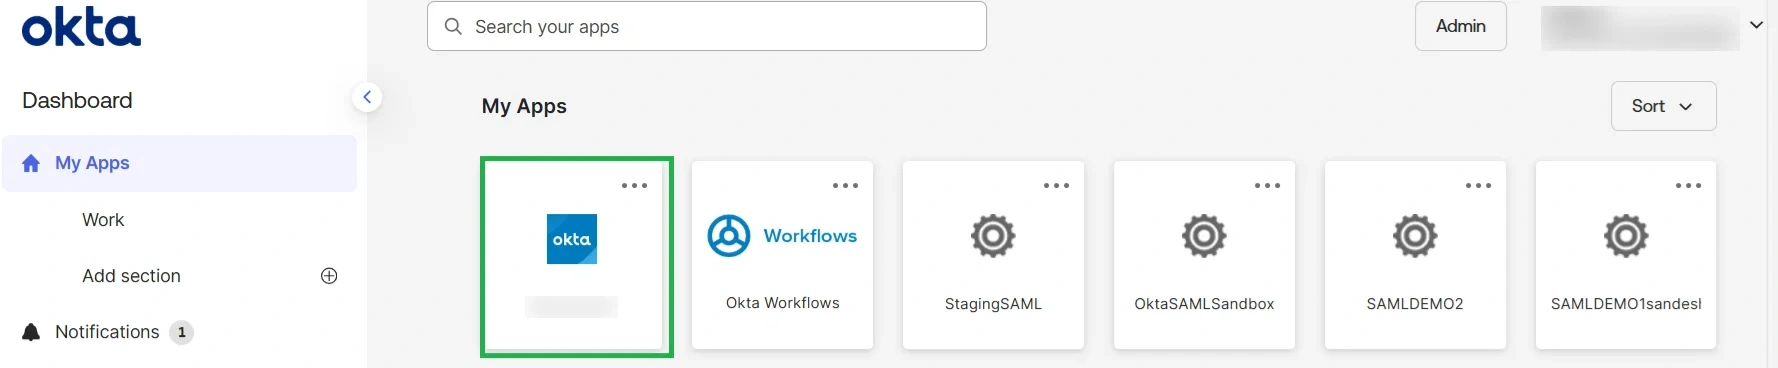
Step 6: Log in using the Okta app tile
The user can click on the Okta tile from the Okta dashboard and will be logged in automatically.
Still need help?
If you are facing any issues with the SSO, you can share the plugin configuration along with a screenshot of the Test Configuration window with us via email at samlsupport@xecurify.com.