For license activation for free and premium asp.net saml sso plugin you need to perform the follwing steps:
- After succesful registration next step is to activate license details.
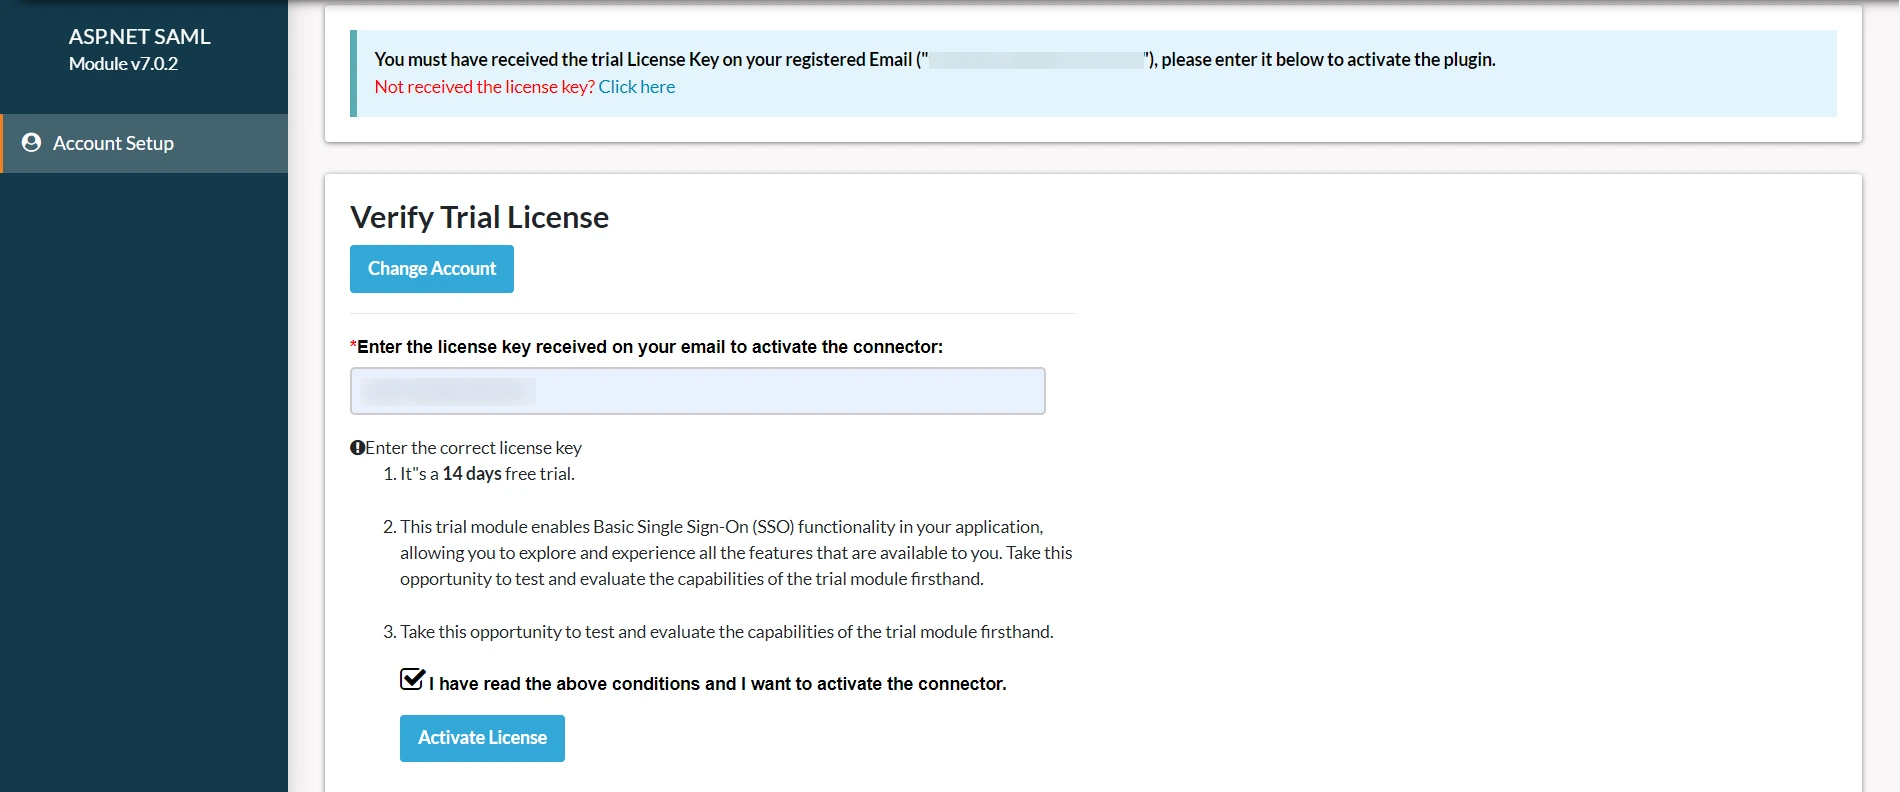
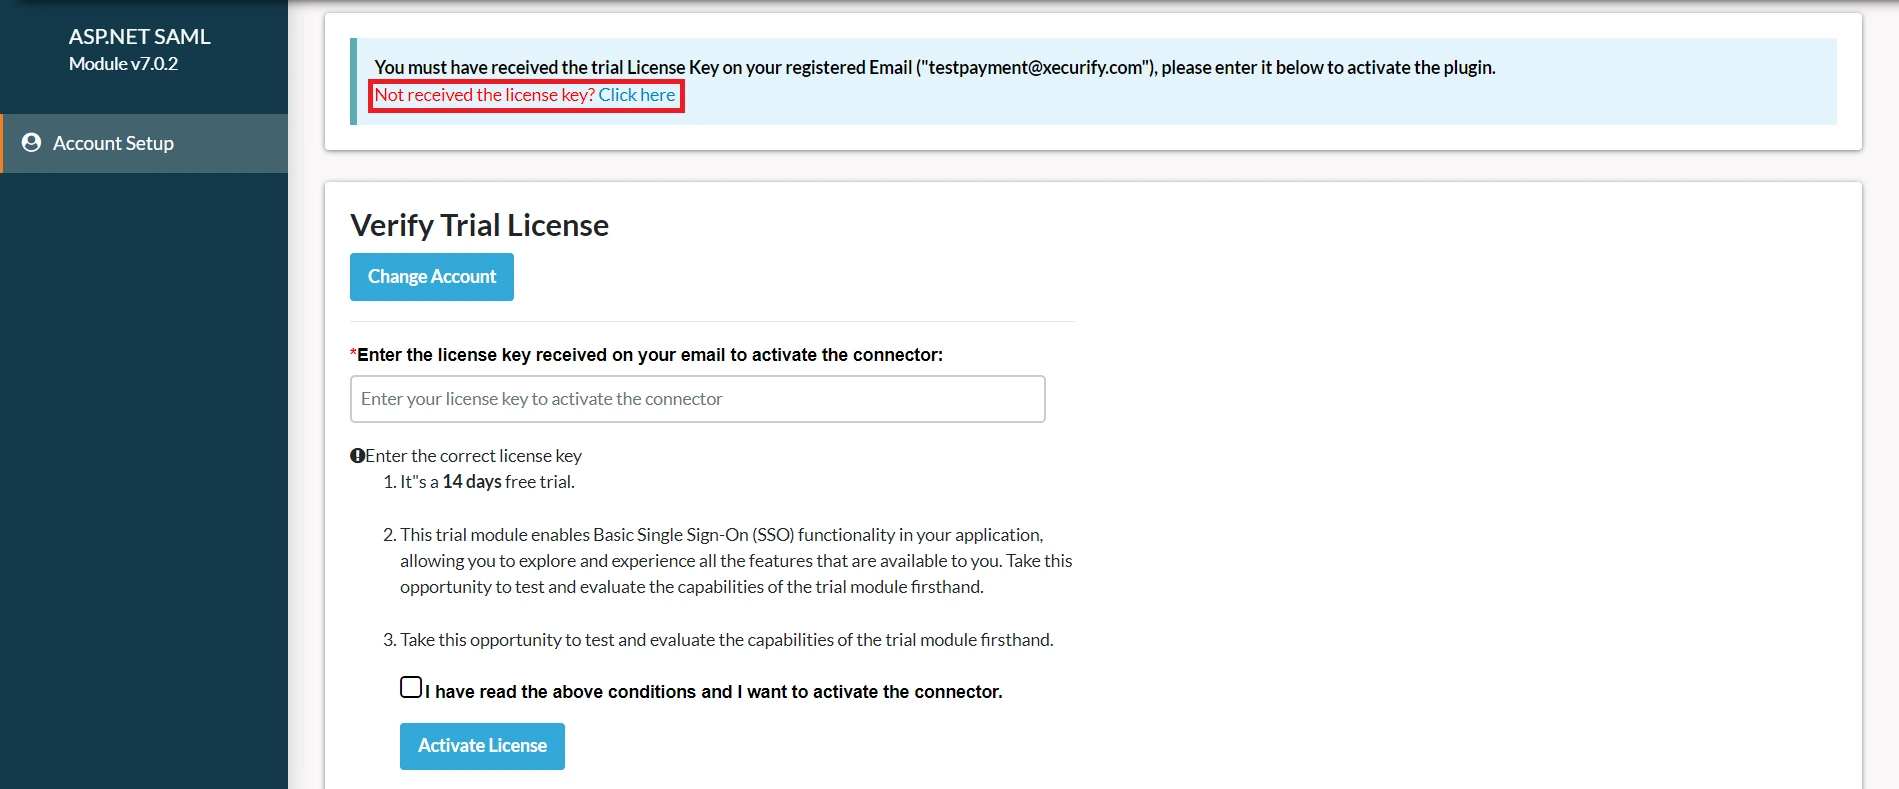
- Enter the license key received on your email as shown in the image below and click on the Activate License button.
- If you didn't received a license key on your register email id, then click on the text "click here" in the block present at the top.
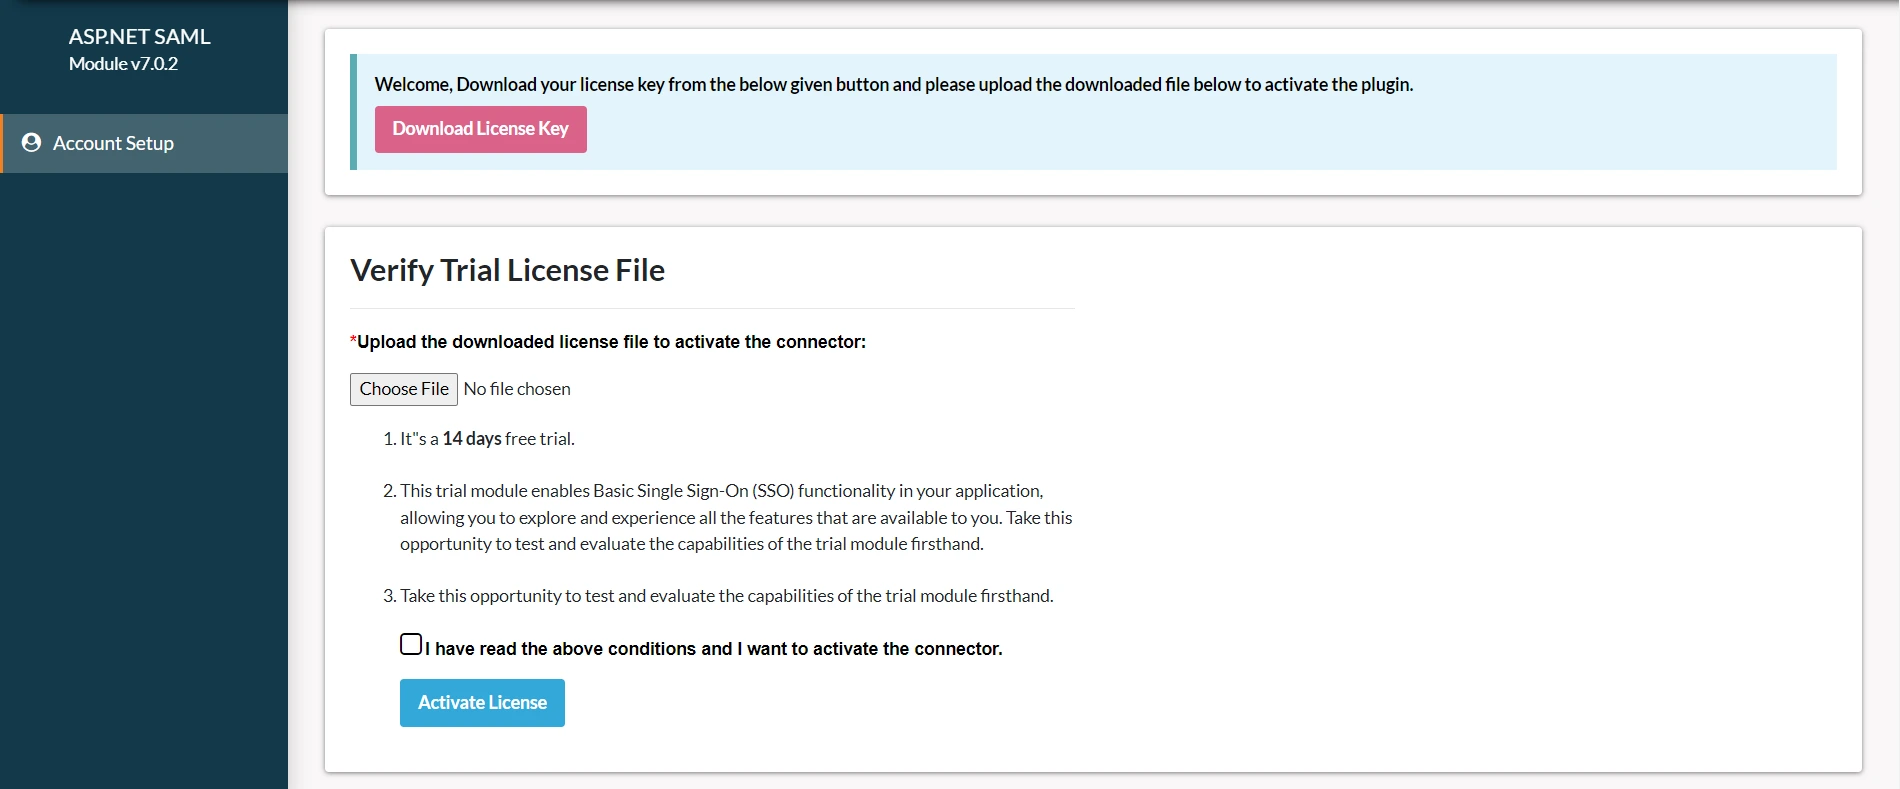
- Click on the Download License Key button. the license key gets downloaded
- Upload this file and click on the Activate License Button
- Here you can see that license details gets activated successfully.

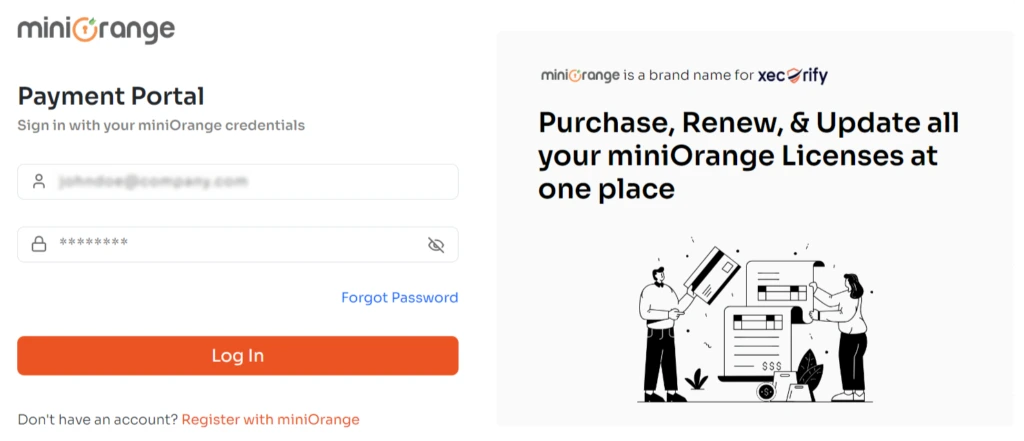
- Go to miniOrange Portal.
- Log in with your miniOrange account credentials.
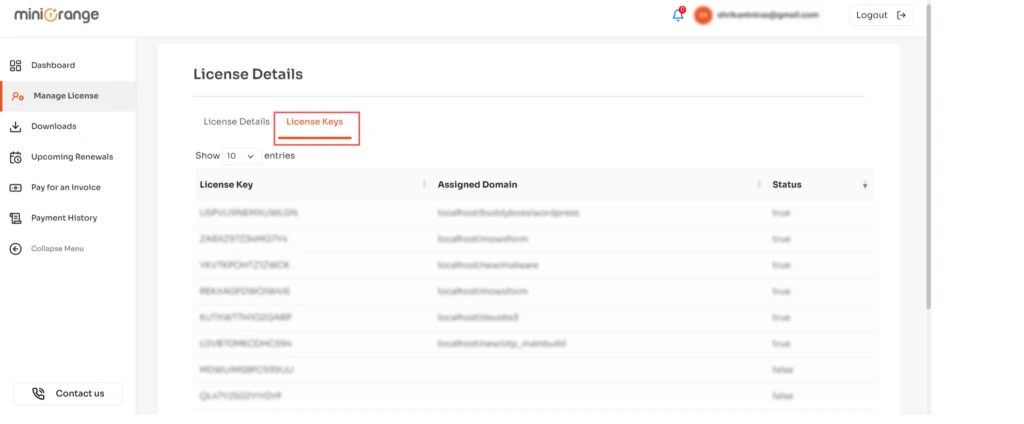
- Go to the “Manage License” from the side menu.
- Click on the “Licence Key” tab and find your license keys.
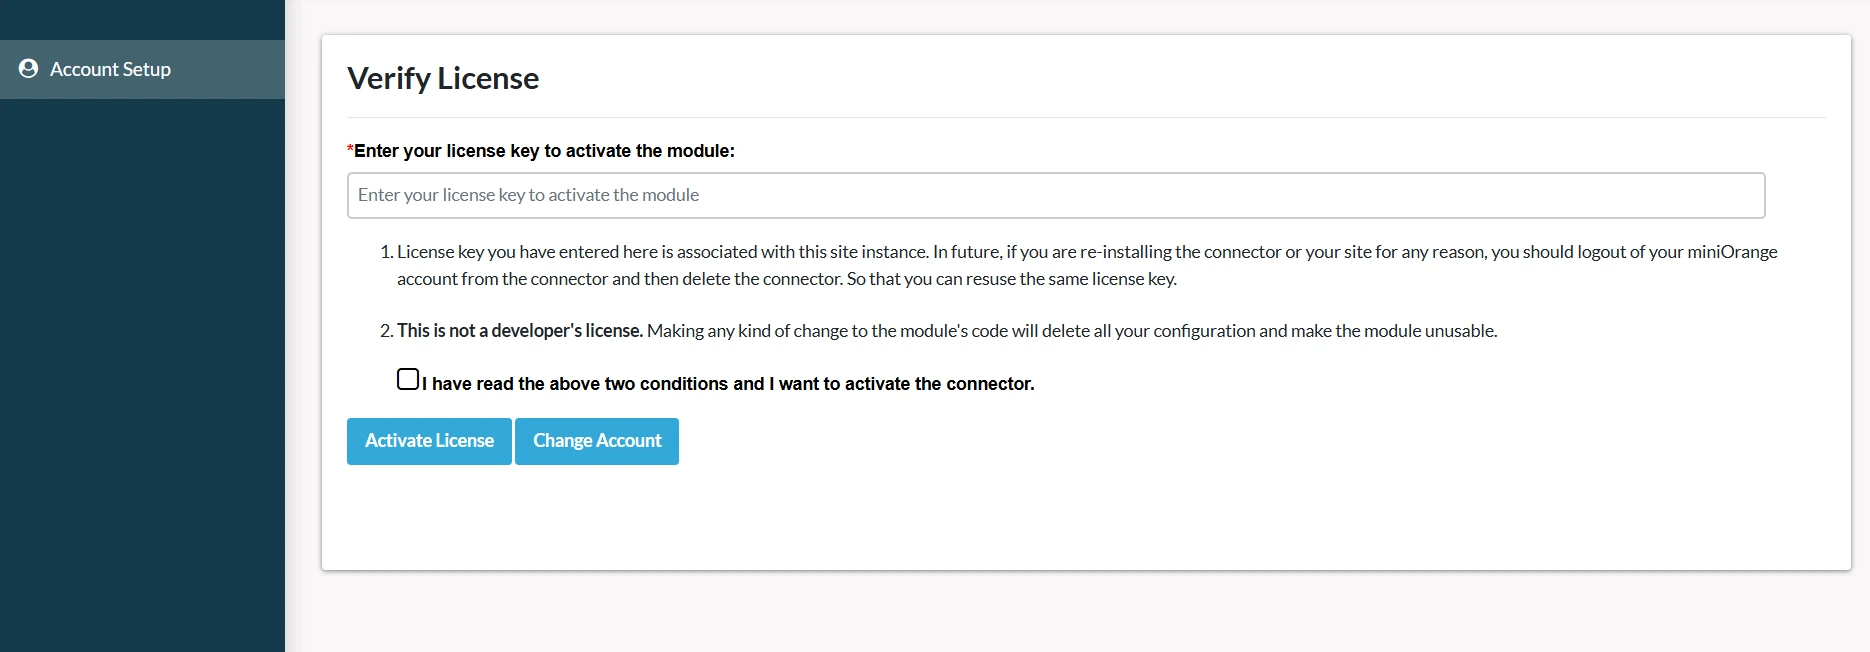
- Go to the “Account Setup” tab in the ASP.NET SAML SSO plugin and insert your license key.
- After that click on the “Activate License” button.