To assign WordPress roles based on groups in Azure, you will need to send the Azure groups in SAML response to WordPress.
To do so, you can follow these steps:
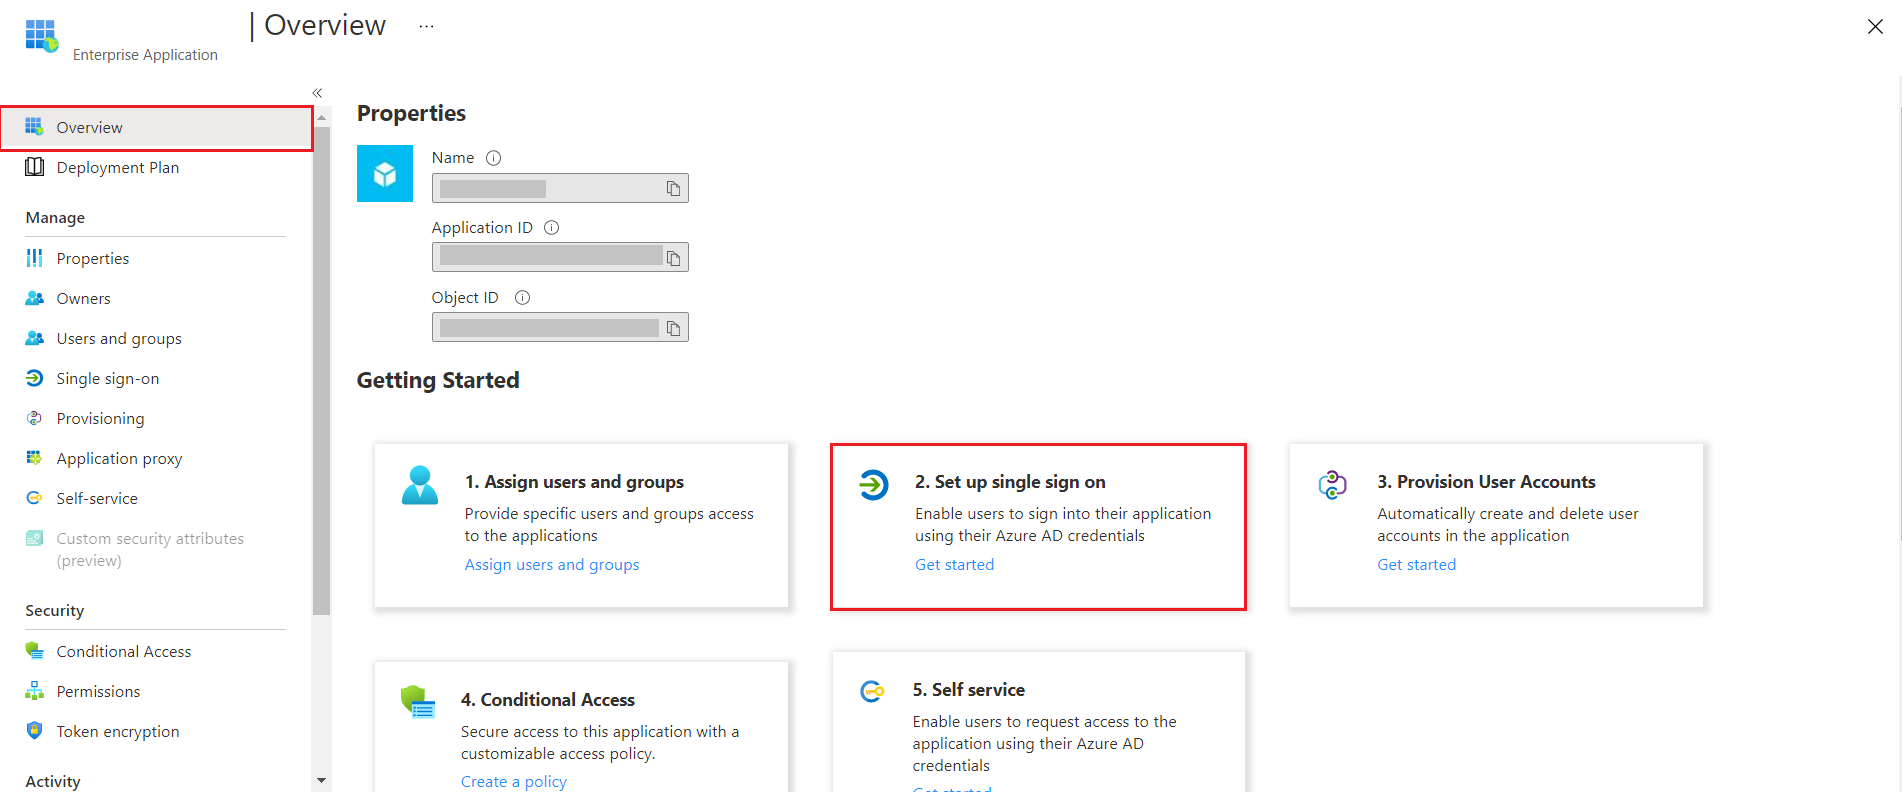
- In the Enterprise application section, go to the application you have created in AzureAD for your WordPress site.
- Under the Overview section, select the Set up Single Sign-On(SSO) option.
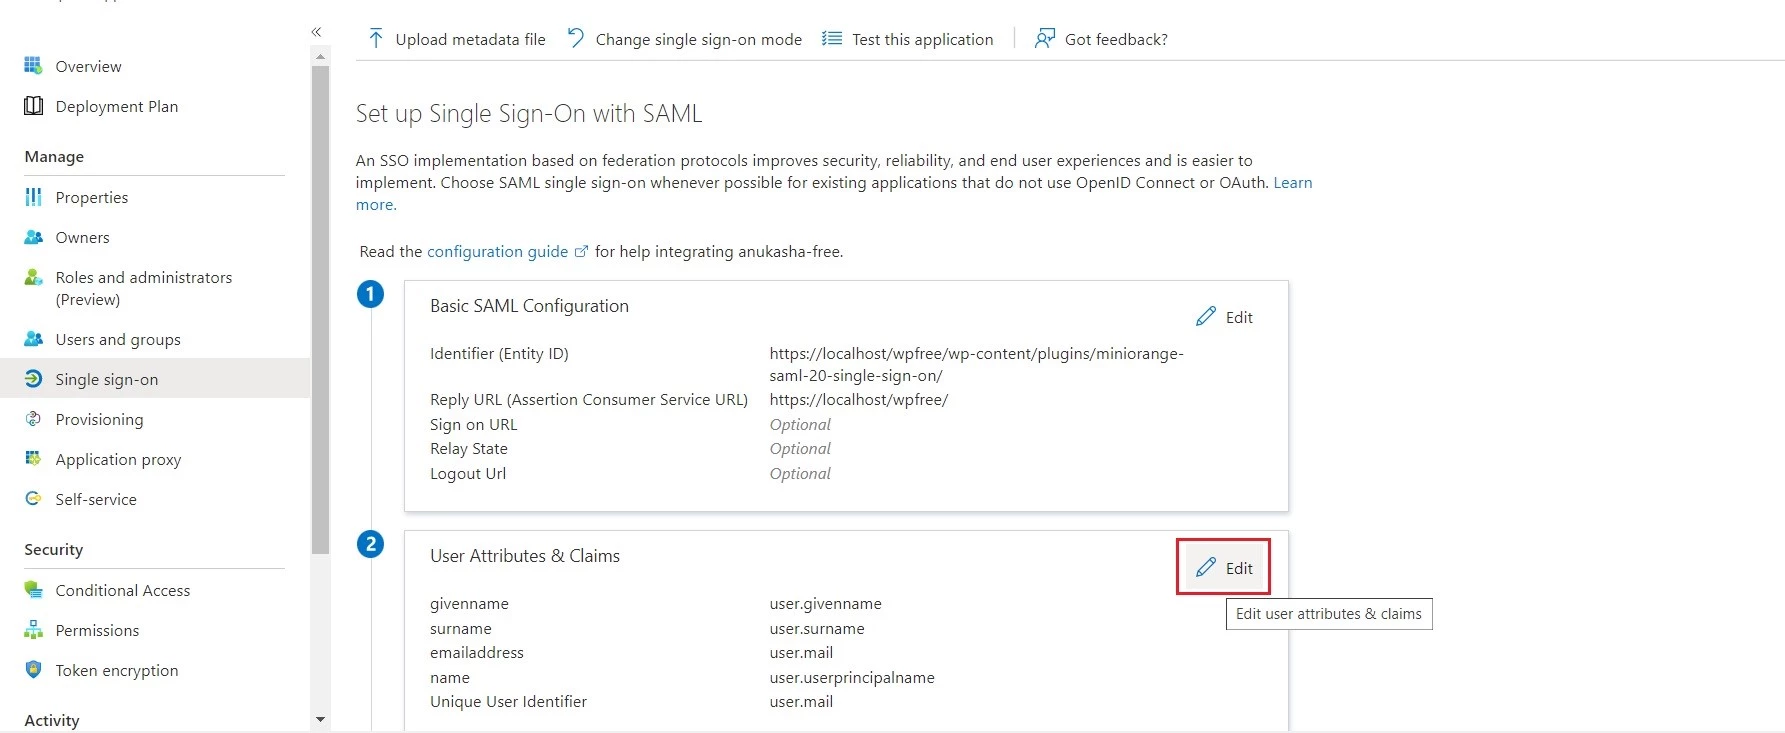
- In the User Attributes & Claims section, click on the Edit button.
- Navigate to the Add a group claim tab in the header section.
- Select any group from the group claims and click on Save.
- Now, navigate to the IDP Configuration tab in the plugin and click on the Test Configuration button.
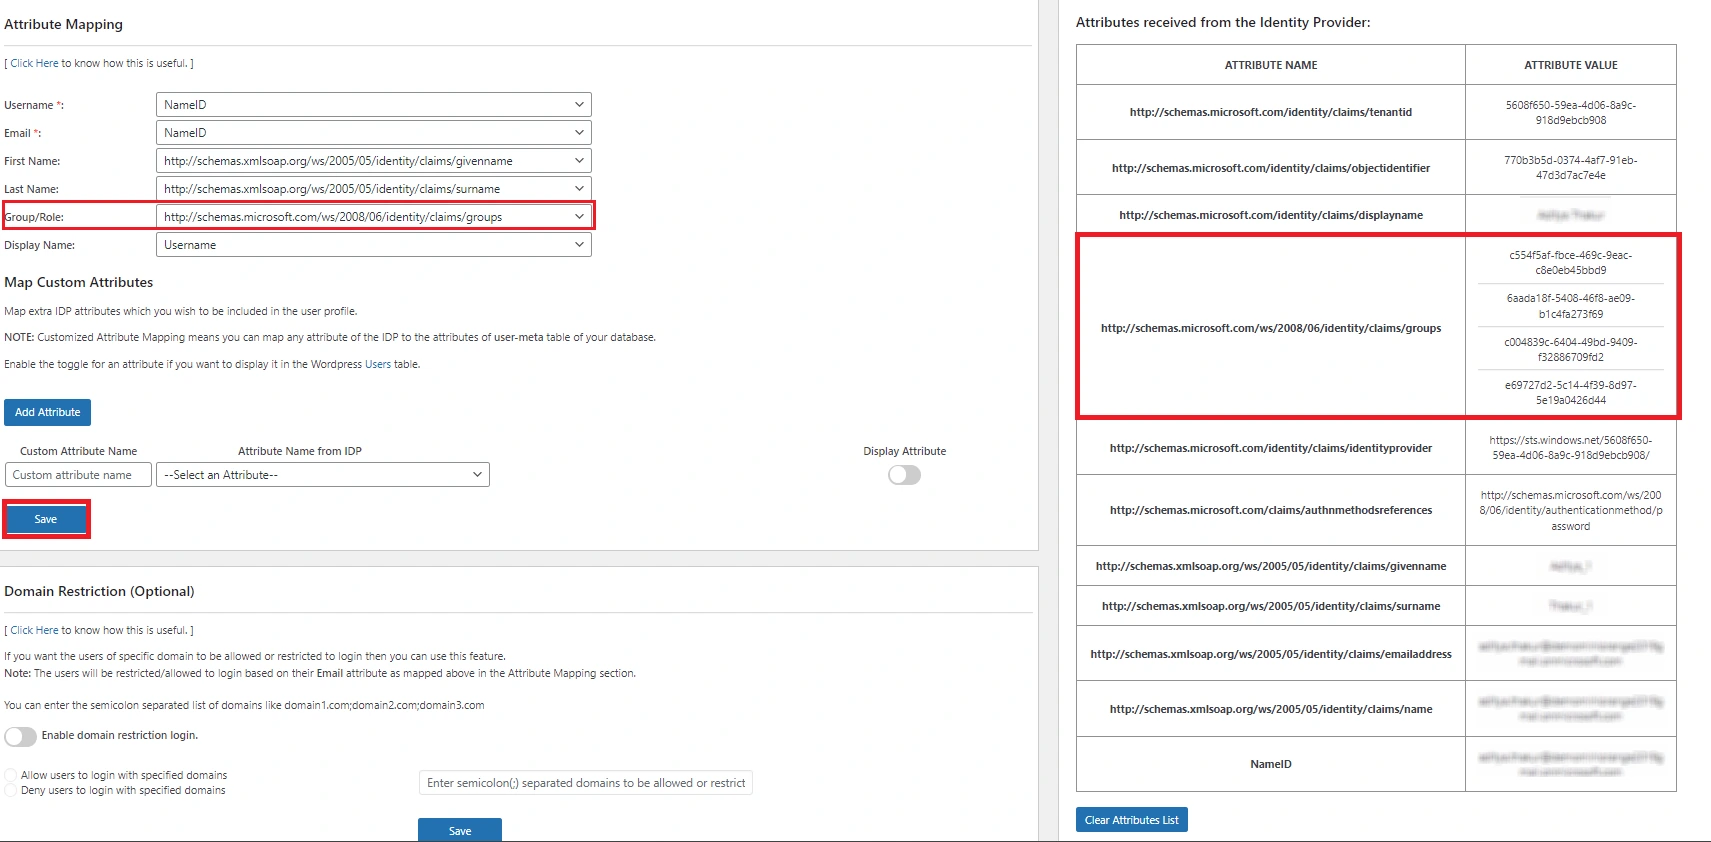
- If the configurations are successfully set up, you will see the attributes received from AzureAD. Make note of the Attribute Name in which the Groups values are being received.
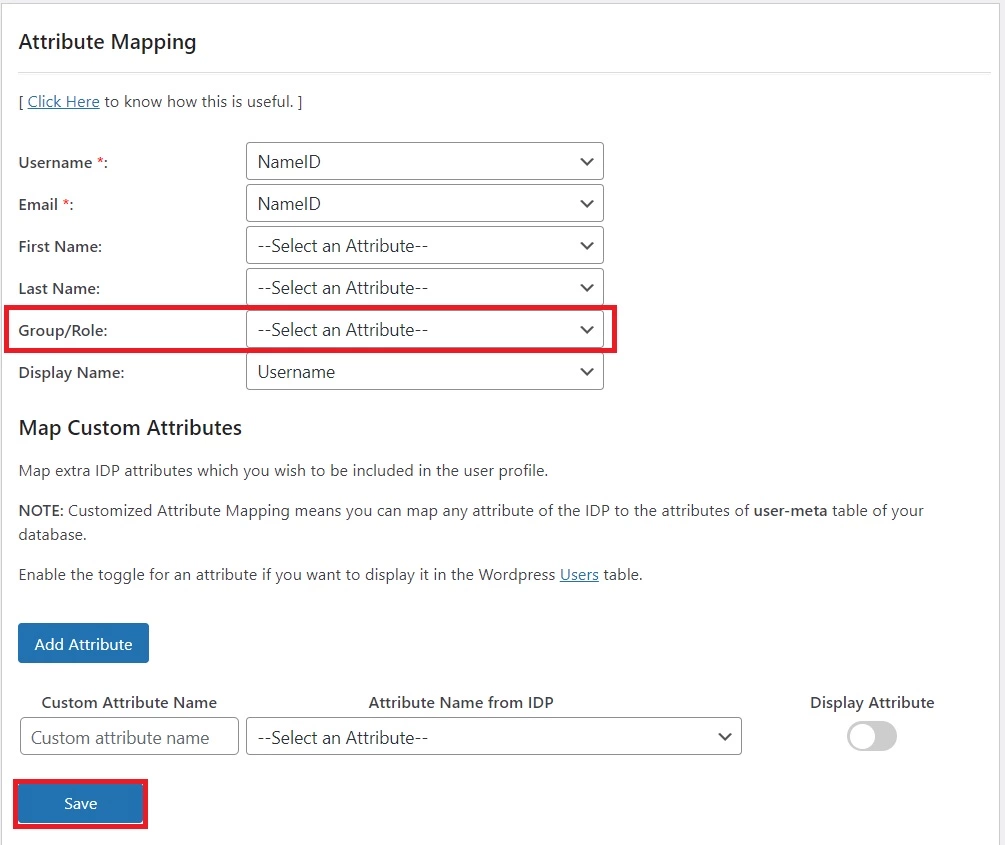
- Go to Attribute/Role Mapping tab in the plugin and under Attribute Mapping, select the Group Attribute Name from the dropdown for the Group/Role attribute. Click on Save.
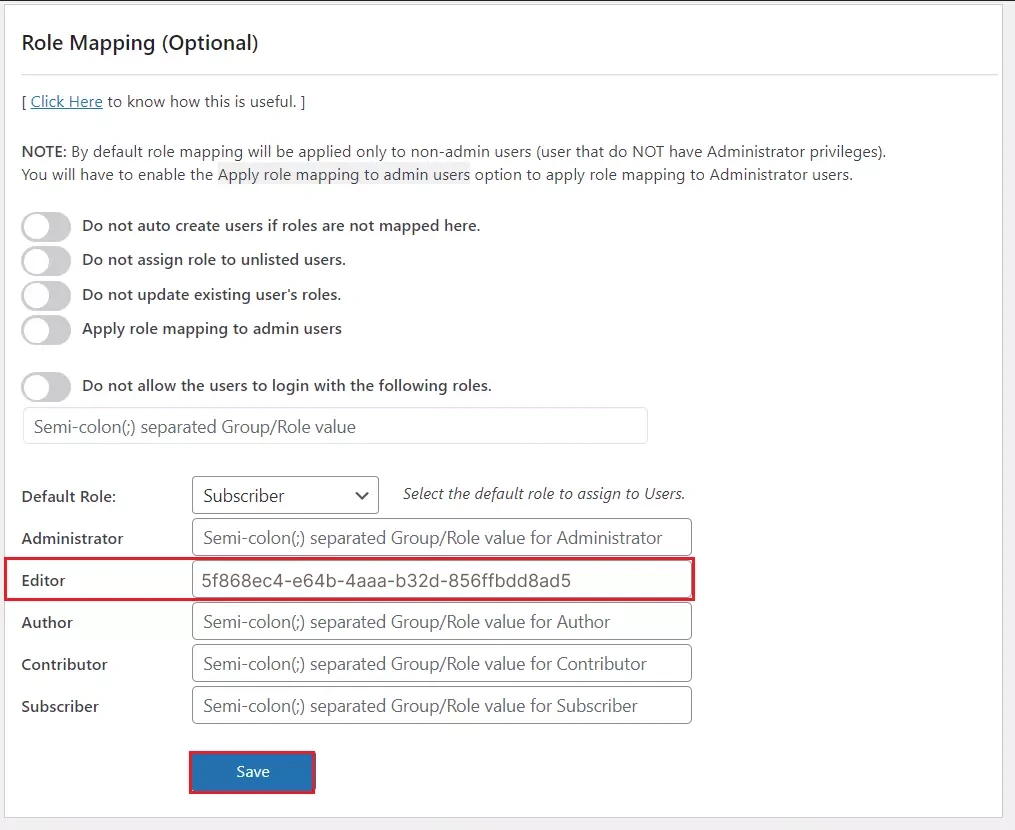
- Now scroll down the same tab you will find the Role Mapping section.
- In this section, specify the group values you received from IDP to their respective Role fields and click on Save.
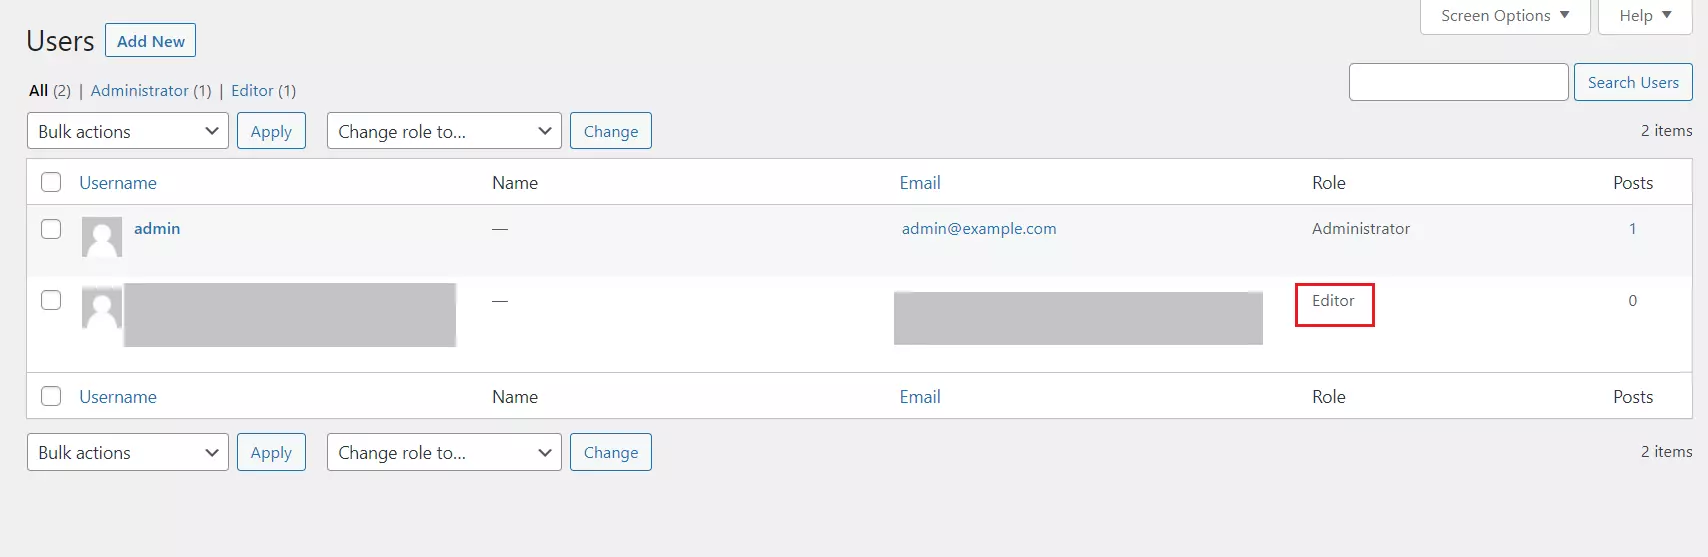
- Now whenever the user assigned in the group performs the Single Sign-On, the user will be assigned a role as configured in the role mapping.

Note: If you are using Azure Cloud Connect you can also select your SAML Account name instead of Group ID from the dropdown.
Note: If you are using Azure Cloud Connect and have selected SAML Account Name, your name will be displayed in the fields.
Still need help?
If you are facing any issues with the SSO then you can share the screenshot of the test configuration window along with plugin configuration with us through email at samlsupport@xecurify.com