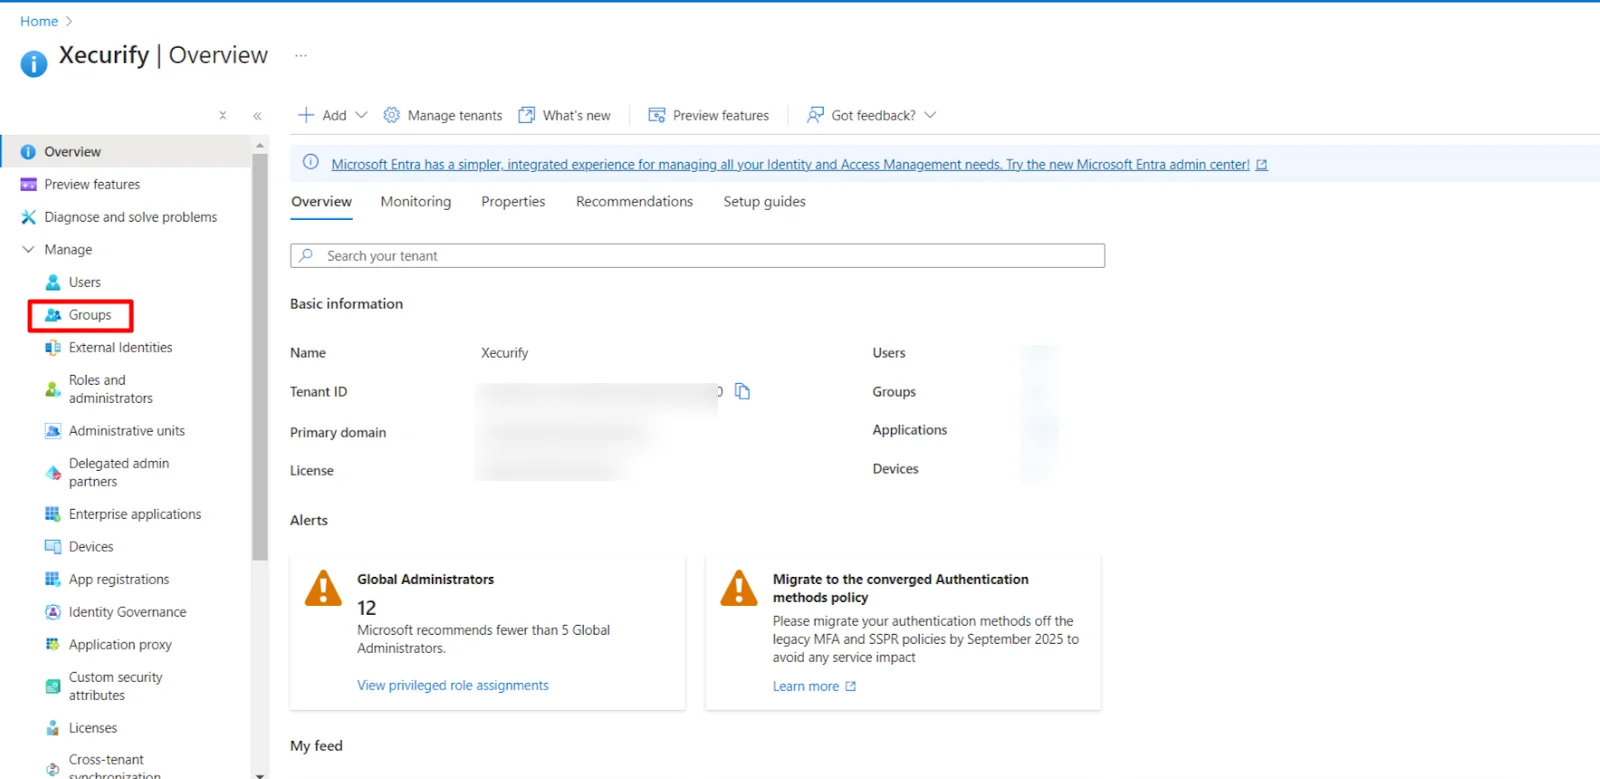
- Go to Microsoft Entra ID and from the left navigation panel click on Groups.
- Next, click on New Group.
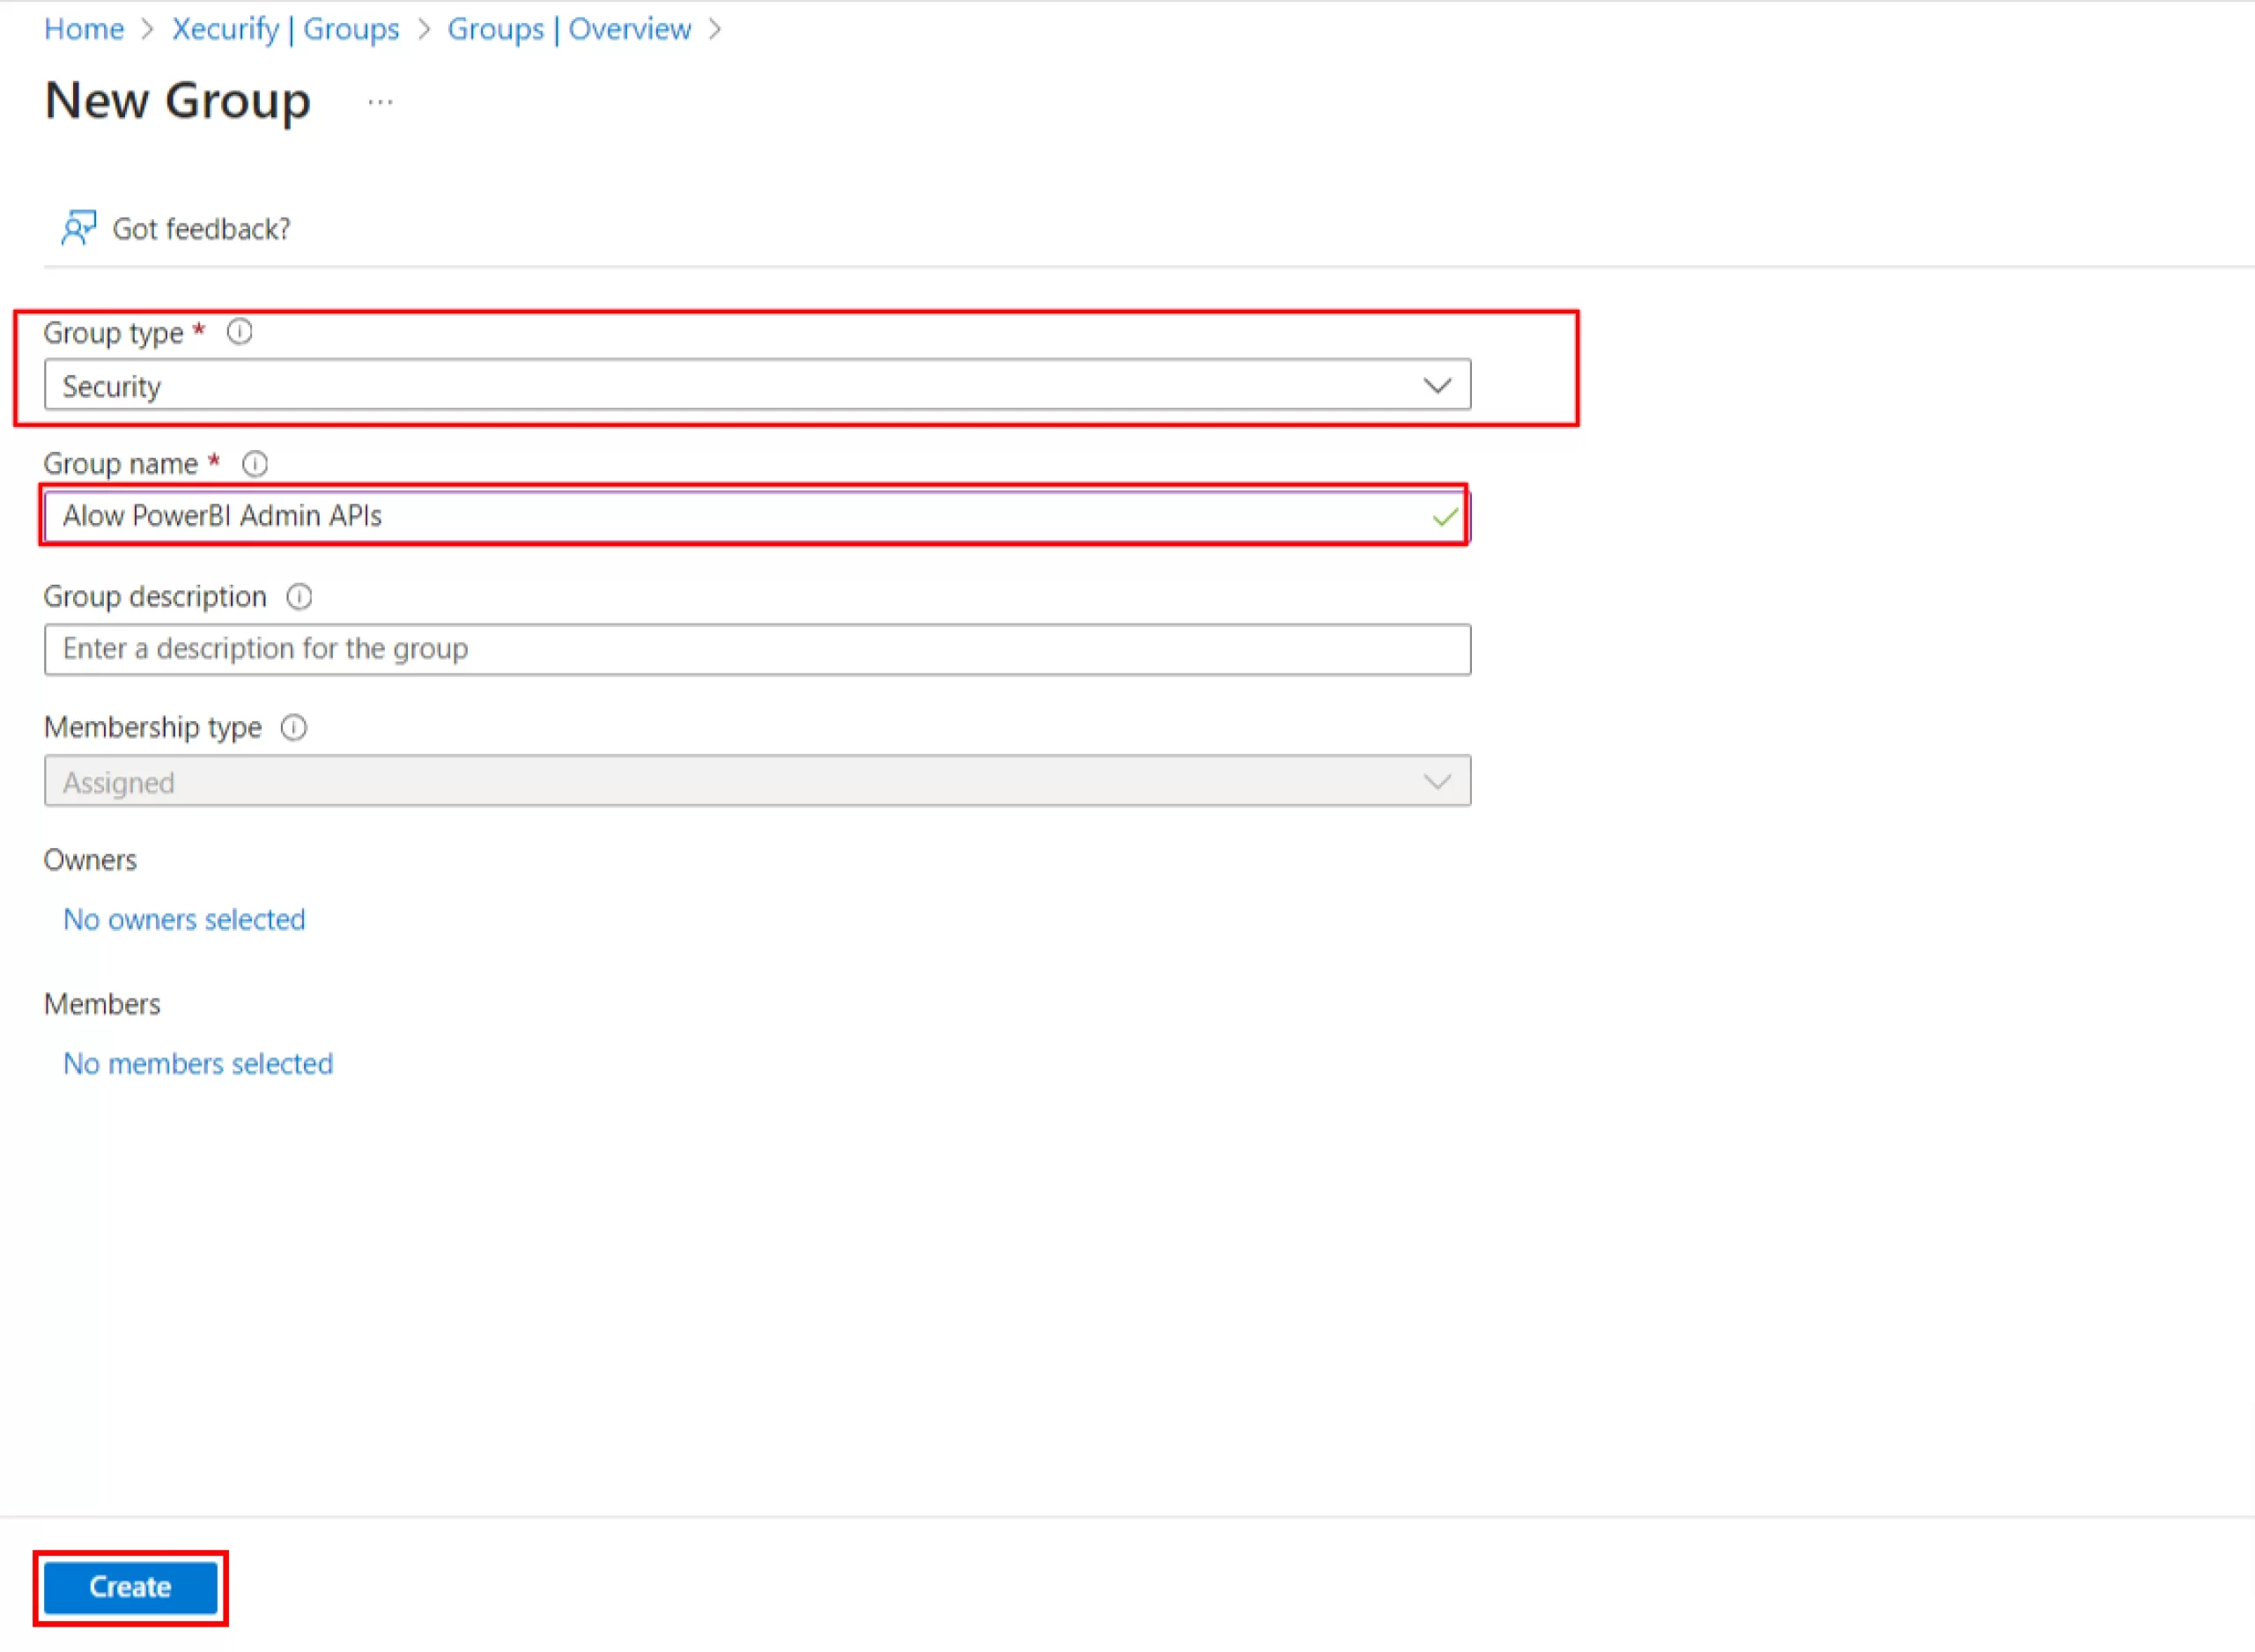
- Then, select Security as the Group type. Enter your preferred Group name (in this guide, the group name is Allow Power BI Admin APIs). Once you've entered the name, click Create.
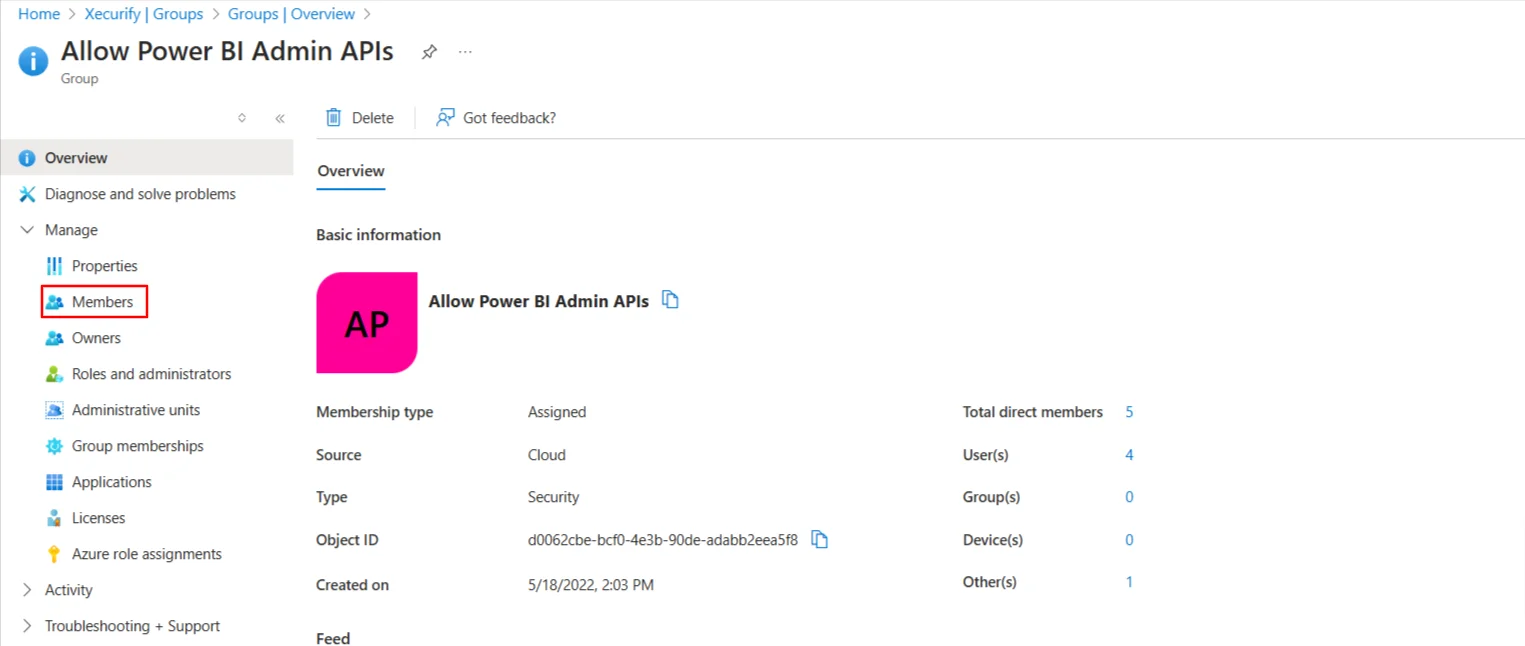
- Once you have created the security groups, navigate to the Members tab.
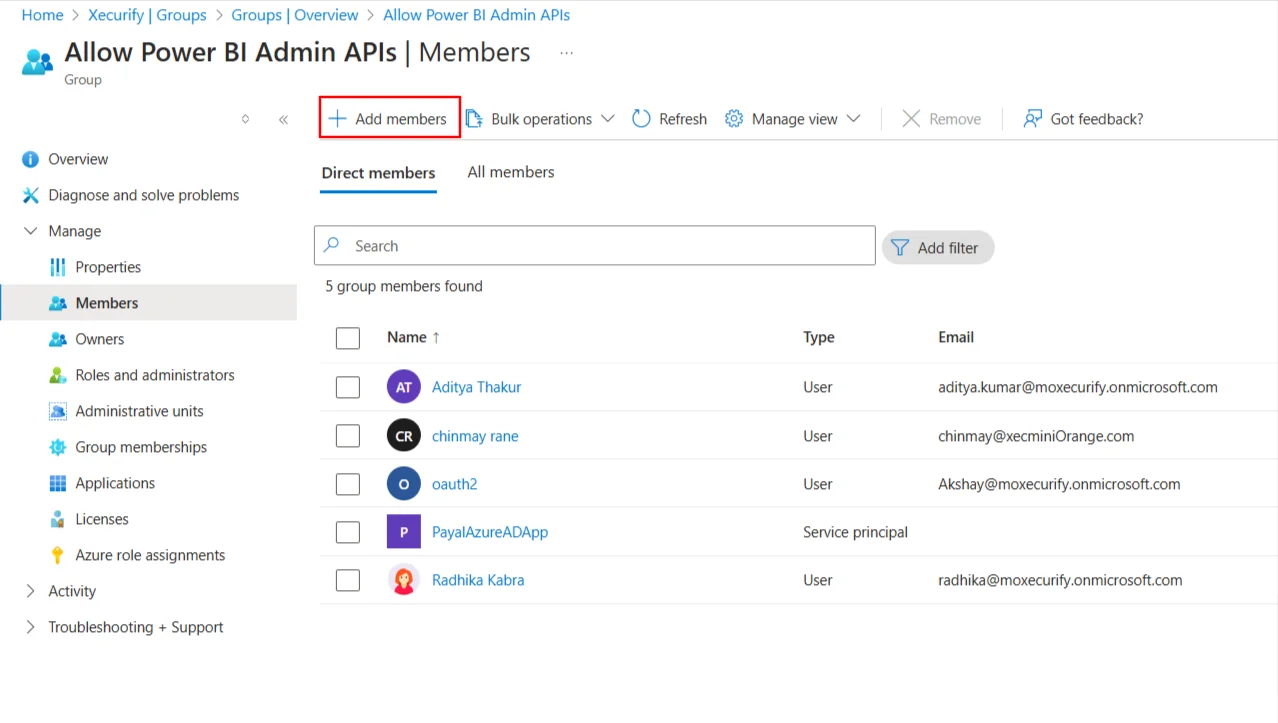
- Click on the Add Members button.
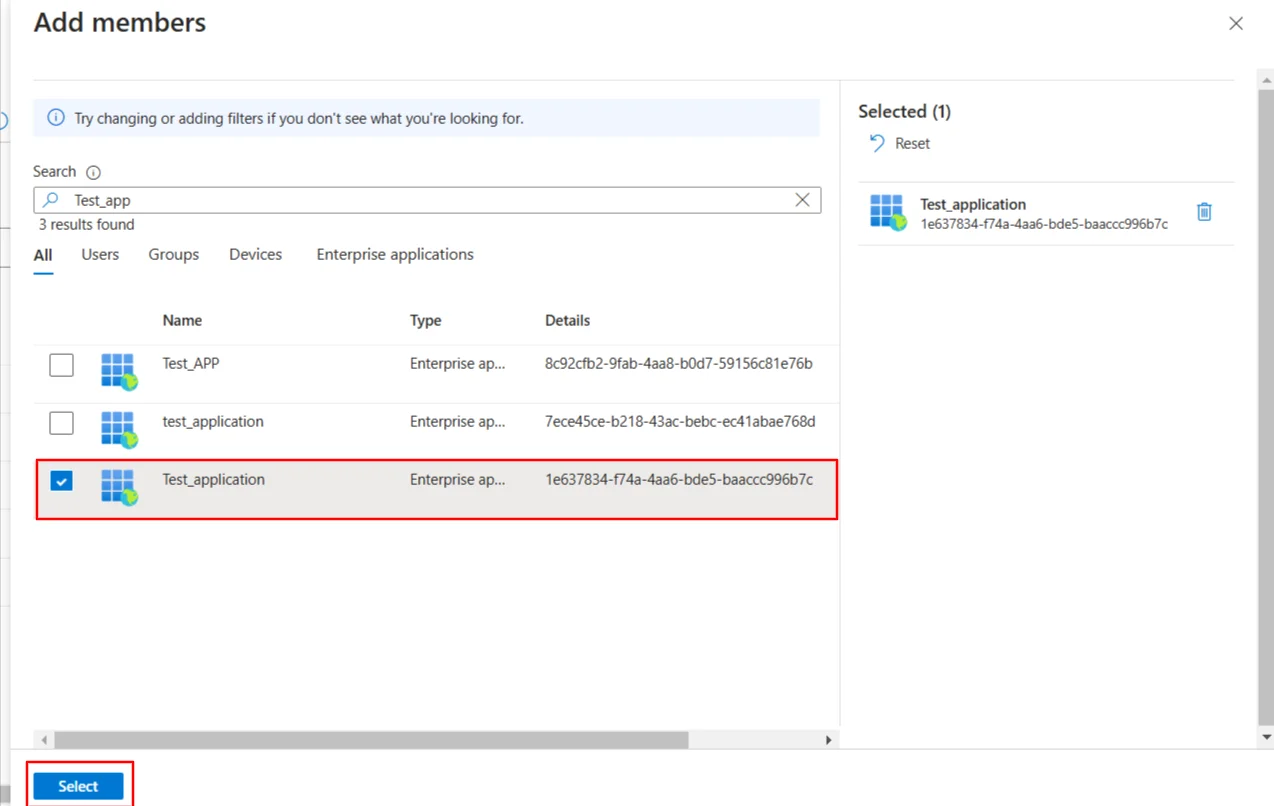
- Search for the application you created (e.g., Test_application in this guide), select it from the search results, and click Select to confirm.
- You have successfully created the security group and added your application to it.